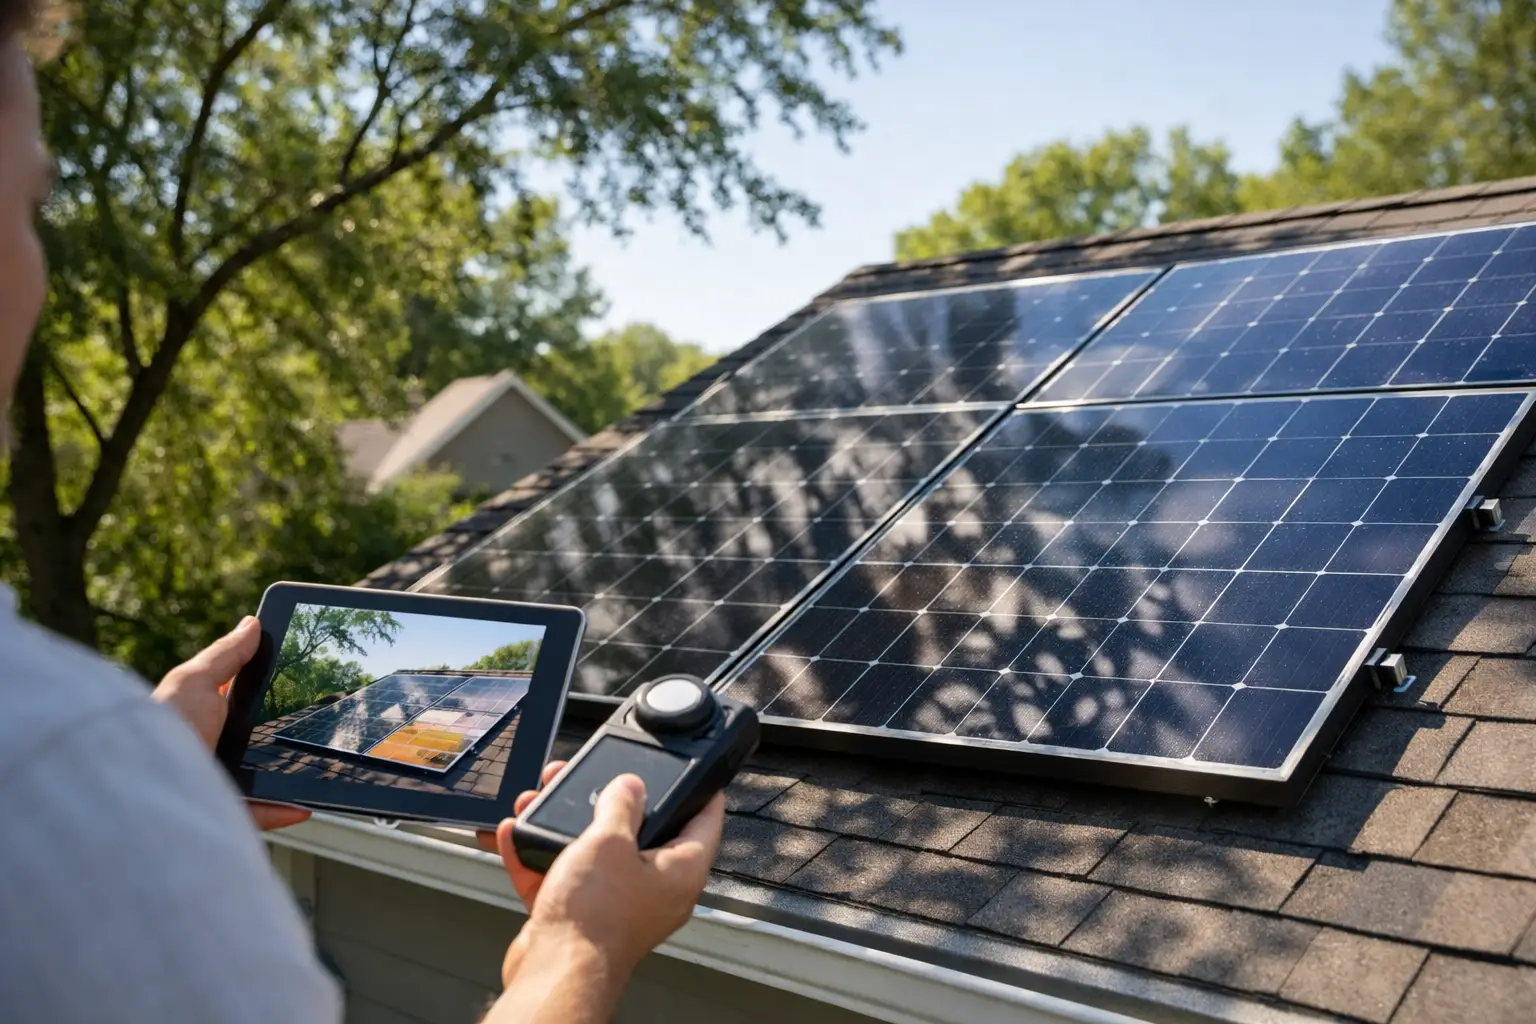
A roof can look sunny at noon and still be a poor solar location for part of the year. A chimney, a mature maple, a neighboring second story, or even a utility pole can cast a moving shadow that reduces production when your panels would otherwise be generating valuable electricity. Knowing how to assess solar shading before you request proposals helps you set realistic savings expectations and compare system designs on more than panel count alone.
For most homeowners, shading is not an automatic reason to abandon solar. It is a design and economics question: how much sun is blocked, when is it blocked, and can the system be arranged to limit the loss? A structured assessment gives you a clearer answer.
Why solar shading deserves a close look
Solar panels produce the most energy when direct sunlight reaches their cells. Diffuse daylight still creates some power, but it is not equivalent to full sun. A shadow falling across even a small part of a panel can reduce that panel's output disproportionately, depending on the panel design and the electrical configuration of the array.
The timing of shade matters as much as its size. Shade early in the morning may have a modest effect if most of your system's annual production occurs around midday. Shade from 10 a.m. to 3 p.m., especially in summer, can have a more meaningful impact. Winter shade also deserves attention because the sun sits lower in the sky, making trees and buildings cast longer shadows.
A good assessment also separates permanent and manageable shade. A chimney is permanent unless the array is laid out around it. A deciduous tree may be leafless in winter but heavily shade a roof from late spring through fall. A tree on your property may be trimmed or removed, subject to local rules and practical considerations. A neighboring building is usually a fixed constraint.
Start with your roof and its surroundings
Begin outside, ideally at several times of day. Stand where you can view the roof planes you are considering and identify anything that could block sunlight: trees, roof vents, chimneys, dormers, satellite dishes, neighboring homes, fences, and nearby hills.
Pay attention to the direction each roof plane faces. In much of the United States, south-facing roofs traditionally offer strong annual production, while east- and west-facing roofs can still be excellent choices. East-facing panels generate more in the morning; west-facing panels generate more later in the day. For homes with afternoon air-conditioning demand or time-of-use electric rates, a west-facing array can be economically useful even if it produces slightly less energy annually than an unshaded south-facing layout.
Roof pitch affects how the sun reaches the panels, but it is rarely the first issue to solve. A moderately sloped roof with clear exposure often outperforms an ideally pitched roof under persistent shade. Focus first on the objects that interrupt the sun path.
Watch shadows across the day
If possible, observe your roof in the morning, around solar noon, and midafternoon. Take dated photos from the ground in a safe location. Note which roof sections are shaded, the source of the shadow, and whether it moves quickly or remains in place.
Do not base a decision on one clear day at one hour. A rooftop that is fully clear at noon may be shaded at 9 a.m. by a tree to the east and again at 4 p.m. by a neighboring structure to the west. Those periods may or may not materially change the project economics, but they need to be included in the production estimate.
Seasonal differences are equally important. In the Northern Hemisphere, the winter sun travels lower across the southern sky, and its shadows stretch farther. Deciduous trees can look less concerning in January than they will in July, when leaves fill in. Evergreens create a more consistent year-round obstacle.
Use mapping tools as an early screen
Satellite imagery and online solar calculators can help you make an initial assessment. They can show roof orientation, approximate roof area, tree coverage, and surrounding structures. These tools are useful for deciding whether it is worth pursuing quotes, but they are not a substitute for an on-site survey.
Aerial images may be outdated, and their angle can hide obstructions. They also cannot reliably capture a tree's height, the exact shape of a roofline, or the shade cast by a tall object during a low winter sun angle. Treat a digital estimate as a starting point, not a production guarantee.
Some professionals use solar pathfinder-style tools, fisheye imagery, lidar data, or specialized shade-analysis software. These methods map obstructions against the sun's path throughout the year and calculate solar access for specific panel locations. The result is far more useful than a simple statement that a roof is "mostly sunny."
How to assess solar shading in practical terms
When reviewing your roof, classify each obstruction by where it falls and what can be done about it. This keeps the conversation with an installer focused and productive.
A small obstruction near the edge of the proposed array may be easy to avoid by moving a few panels. A central chimney can divide the array into separate sections. Large trees that shade broad areas of the roof for several hours may require pruning, a different roof plane, a smaller system, or a decision that solar is not the right investment at this time.
Ask your installer to show shade results for the actual proposed panel layout, not just the entire roof. The best location on a roof may be only a portion of one plane. Also ask whether the estimate accounts for expected tree growth. A young tree that is harmless now could become a long-term production issue over the 25-year or longer operating life of a solar system.
Understand how equipment responds to shade
Not every solar system handles shade the same way. Traditional string inverter systems connect groups of panels together. If one panel in a string is shaded, the output of that group can be affected, although modern panels use bypass diodes to reduce the impact.
Microinverters and DC optimizers allow panel-level power management. In a partially shaded system, they can reduce the effect of one shaded panel on the rest of the array and provide panel-level monitoring. They do not make shaded panels produce full power, and they add cost, but they can be a sound choice when shade is intermittent or limited to part of the roof.
The right equipment depends on the shade pattern, roof complexity, array size, budget, and service preferences. A simple, fully unshaded roof may not need the added expense of panel-level electronics. A roof with chimney shadows, multiple orientations, or occasional tree shade may benefit from them.
Compare production estimates, not just system size
Two proposals can list the same number of panels yet predict very different annual output. That difference may be legitimate if one proposal places panels on a shaded roof area, uses a different orientation, or makes different assumptions about losses.
Request the estimated annual production in kilowatt-hours, the assumed shading loss, and a layout showing where panels will sit. Ask what weather data and utility-rate assumptions were used. If one proposal claims unusually high output despite visible obstructions, ask for an explanation before treating it as the better value.
Also consider the value of the electricity produced at different times. In some utility territories, a kilowatt-hour generated during a late afternoon peak is worth more than one generated earlier in the day. This can change the comparison between a clear east-facing roof and a somewhat shaded west-facing roof. Your local net-metering rules, rate plan, and future battery plans all affect that calculation.
Consider mitigation carefully
Tree trimming can improve solar access, but it should be approached as a property decision, not simply a solar tactic. Confirm ownership, local ordinances, homeowner association rules, and the tree's health. An arborist can advise whether selective pruning is appropriate. Removing healthy mature trees solely to add panels is not always financially or environmentally sensible, particularly when a smaller, better-positioned array can meet much of your goal.
For fixed roof obstructions, design is usually the answer. Panels can be positioned around vents and chimneys, grouped on a clearer roof plane, or installed on a ground mount where property size, setbacks, and budget allow. Ground-mounted systems can avoid roof shade but often cost more because of site work, trenching, racking, and permitting.
Roof work should be resolved before installation. If replacement is likely within the next several years, reroofing first may prevent the cost and disruption of removing and reinstalling panels later. It also gives the design team a clean opportunity to place vents or other roof components with the future array in mind.
Get an on-site assessment before signing
A qualified solar professional should verify roof condition, dimensions, electrical access, and shade before finalizing the contract. Remote design is common early in the process, but an on-site assessment should confirm that the proposed production estimate is achievable.
Bring your own observations to that visit. Show photos of seasonal shade, point out trees that are yours or belong to a neighbor, and explain any planned construction that could affect the roof or sun exposure. Ask for the expected production after shading is modeled and for a clear explanation of the design choices.
Solar works best when the projected savings are based on the roof you actually have, not an idealized version of it. A careful shading assessment gives you the confidence to move forward with the right layout, the right equipment, and expectations that will hold up long after installation.