A solar project begins well before panels arrive at your home. The question of how does solar installation work is really a question about matching a power system to your roof, electricity use, local rules, and financial goals. A qualified installer coordinates those moving parts so the finished system can safely produce power for decades.
For most homeowners, the on-site installation takes one to three days. The full process, however, often takes several weeks or a few months because design approvals, permitting, utility review, and inspections happen around the physical work.
How Does Solar Installation Work From Start to Finish?
The process follows a practical sequence: assess the property, design the system, finalize pricing and financing, obtain approvals, install equipment, complete inspections, and receive permission to operate from the utility. Each stage protects the homeowner, the electrical grid, and the long-term performance of the system.
1. Your home and energy use are evaluated
An installer starts by reviewing your recent electricity bills. This helps estimate how many kilowatt-hours your household uses across the year and whether your usage changes significantly in summer or winter. A household with electric heating, a pool, or an electric vehicle may need a different system size than a similar-sized home without those loads.
Next comes a site assessment. The installer evaluates the roof's condition, orientation, slope, available open space, shading from trees or nearby structures, and the location of the electrical panel. South-facing roofs often receive strong annual production, but east- and west-facing arrays can also make financial sense, especially where afternoon electricity costs are higher.
A roof does not need to be perfect for solar, but it does need adequate useful life. If replacement is likely within the next few years, handling the roof first is usually the better choice. Removing and reinstalling panels later adds cost and project coordination.
2. The installer designs a system around your goals
Using site measurements, satellite imagery, electrical data, and local weather records, the design team creates a proposed solar layout. The proposal should show the number and placement of panels, estimated annual production, expected utility savings, equipment specifications, and assumptions about utility rates.
Most residential systems include solar panels, racking, wiring, an inverter or microinverters, safety disconnects, and monitoring equipment. Panels produce direct current electricity. Inverters convert it to alternating current electricity, which is what your household appliances and the utility grid use.
The inverter choice affects system behavior. A central string inverter is often a cost-effective option for a simple, unshaded roof. Microinverters or power optimizers can be useful when panels face different directions or experience partial shading, because they allow more panel-level control. Neither option is universally best. The right choice depends on roof complexity, budget, warranty terms, and expected production.
If you want a battery, it is designed as part of the electrical plan. Solar panels alone generally shut off during a grid outage for utility-worker safety. A battery with the appropriate backup equipment can keep selected circuits running, or support more of the home, depending on its capacity and the backup design.
3. Contracts, financing, and approvals are finalized
Before work begins, review the proposal carefully. Focus on system size, estimated production, total project cost, financing terms, equipment brands and model numbers, workmanship warranty, production warranty, and who is responsible for permits and utility paperwork.
Homeowners may pay cash, use a loan, lease equipment, or enter a power purchase agreement. Cash ownership typically offers the clearest long-term savings and may allow the homeowner to claim available tax incentives if eligible. Loans preserve upfront cash but add interest costs. Leases and power purchase agreements can reduce upfront expense, although savings, incentives, transfer terms, and home-sale considerations differ from ownership.
Local building departments commonly require permits for the structural and electrical work. Your utility also needs an interconnection application because the solar system will connect to the grid. In some areas, a homeowners association may require architectural approval. A professional installer usually manages these submissions, but homeowners should ask what documentation or signatures will be needed from them.
4. The roof mounting and electrical work are completed
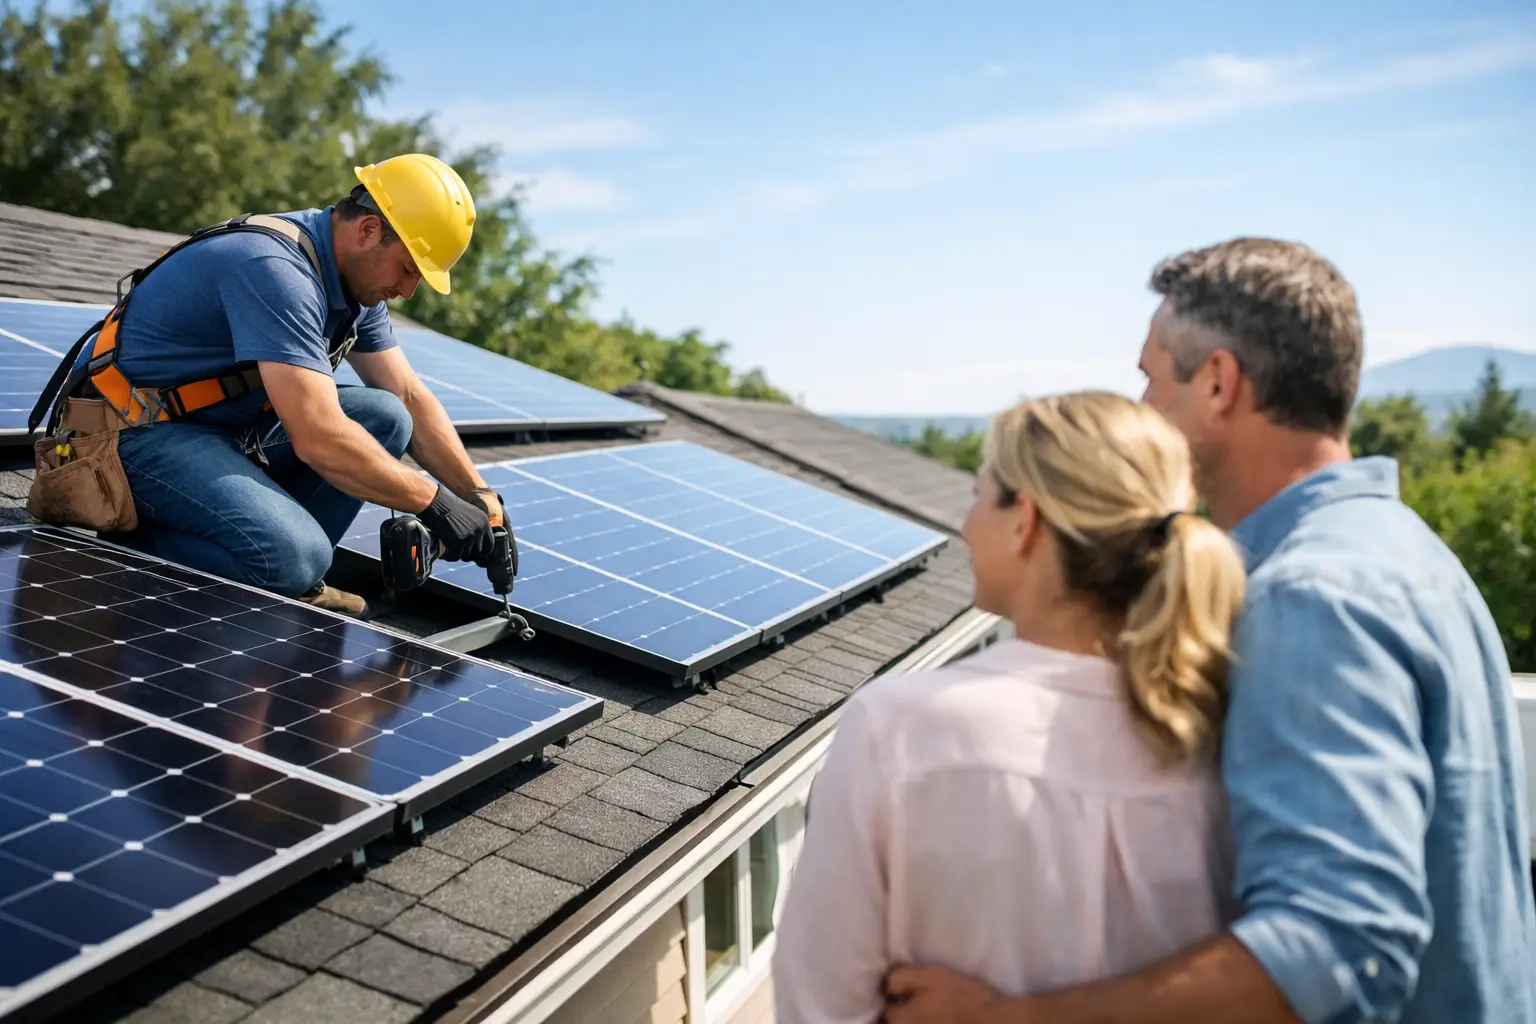
Once permits are issued and equipment is available, the installation date is scheduled. The crew begins by marking the array layout and attaching roof mounts to structural framing. Proper flashing and sealants are used at roof penetrations to protect against water intrusion. Rails are secured to the mounts, then panels are fastened to the rails and connected according to the design.
Electricians install the inverter equipment, conduit, required shutoffs, grounding, and connections at the main electrical panel. If a panel upgrade is needed, it may be completed before or alongside the solar work. Older panels, limited breaker space, or insufficient electrical capacity can affect both cost and schedule.
The crew also installs production monitoring. Most systems allow homeowners to view current output, daily production, and longer-term trends through an app or online portal. Monitoring is useful not only for curiosity but also for identifying performance issues early.
During installation, access to the attic, garage, electrical panel, and sometimes the home internet connection may be needed. The crew should explain any planned power interruption, which is often brief but can vary if electrical upgrades are involved.
Inspection and Utility Approval Matter as Much as Installation
After installation, the local authority having jurisdiction inspects the work. The inspector checks that the mounting, wiring, labeling, grounding, and disconnects meet applicable codes. If anything needs adjustment, the installer corrects it and schedules a reinspection.
The utility then completes its review and, where required, changes or reprograms the electric meter. This is the final step before permission to operate, often called PTO. Do not assume the system can be turned on the day panels are installed. Operating before formal approval may violate utility rules and can create billing or safety problems.
Once PTO is issued, the installer activates the system and confirms that monitoring is reporting correctly. Depending on your utility's billing structure, excess solar production may be credited through net metering or another export compensation program. Those rules vary by state and utility, so projected savings should be based on the current local rate plan rather than a generic estimate.
What Can Change the Timeline or Cost?
A straightforward project on a newer roof with a modern electrical panel can move quickly. A project requiring roof repair, a main panel upgrade, trenching, battery backup, HOA review, or specialized utility equipment will usually take longer and cost more.
Weather can also delay roof work, while equipment availability can affect scheduling. Permit offices and utilities have their own processing times, which installers cannot always control. This is why a credible proposal should explain both the expected timeline and the factors that could change it.
Solar output is not fixed at the panel's nameplate rating. Production changes with sunlight, temperature, shade, roof direction, system losses, and seasonal weather. A responsible estimate accounts for those variables rather than promising a specific utility bill reduction every month.
Questions to Ask Before You Approve a Solar Project
Ask who will perform the installation, whether subcontractors are involved, and who will be your point of contact after activation. Confirm whether the proposal includes permit fees, interconnection fees, electrical upgrades, removal of old equipment, and monitoring access.
Also ask how the installer handles roof leaks, equipment service, and warranty claims. Manufacturer warranties can be substantial, but the process for getting service matters just as much. You should understand what is covered by the panel manufacturer, inverter manufacturer, installer workmanship warranty, and your homeowner's insurance.
A good solar installation is not simply a set of panels on a roof. It is an electrical and financial project tailored to the way your household uses power. Take the time to compare proposals on system design and assumptions, not just the lowest quoted price. The right project should leave you with clear documentation, working monitoring, and a system that fits the home you plan to live in.